
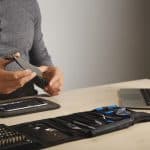
Steps to Repair a Cracked Laptop Screen Without Having to Replace It
The most common issue that laptop users encounter is a cracked screen. Laptop screens are the most delicate and important component of the system. If the screen is damaged, no function in the system is accessible to the audience. A cracked laptop screen is one of the most inconvenient things that a user can encounter.
However, the cracked laptop screen can be easily repaired in a few simple steps. With the help of this post, you will learn how to fix a cracked laptop screen.
It is recommended that you try to troubleshoot the system before replacing the laptop screen. Other blemishes on your screen could be the result of a different problem in the system. For example, a pixel problem may make it difficult to display images and text. If some pixels in a specific area are damaged, this can cause a problem with legibility on the screen.
If images appear hazily on the display, it could be due to the backlight. As a result, hurdles in the path of appropriate screen visibility are created. The problem could be caused by a latch that is trapped in a locked state when the laptop is opened. In this case, you must locate the backlight switches, which are located near the laptop's hinges. Unstick the latch after opening it with a small pin.
If the screen is solid white, the issue could be due to a faulty wired connection between the display and the system's board. In this case, all you have to do is open the laptop and double-check that the cables are properly connected.
However, if the image issue is exacerbated by a cracked screen, you will need to replace it. You must take the following steps to accomplish this:
Step 1: First and foremost, you must purchase a screen that is compatible with the model type of your laptop.
Step2: Before you begin, turn off the laptop, disconnect it from the power outlet, and remove the battery from the gadget.
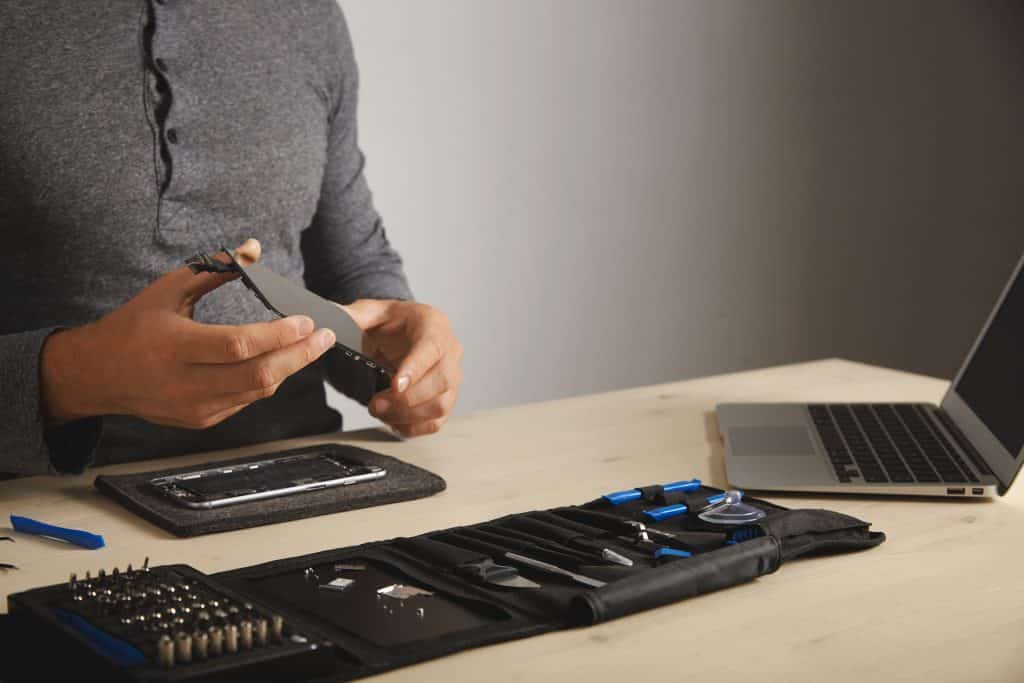
Step 3: Using a screwdriver, locate and loosen the bolts that hold the laptop's screen in place. Your laptop's screen is held in place by 4 to 6 screws. These are typically found near the base of the plastic frame.
Step 4: After removing all of the screws, begin pulling the screen away from the plastic casing. The best way to accomplish this is to gently roll your finger around the entire bezel. After you've separated the screen from the casing, carefully pull it away. If the screen does not come out, check to see if any screws are still fastened.
Step 5: When you remove the casing, you'll notice that it's surrounded by a metal frame. You must flip the screen so that the aluminium casing can be seen. The display of your laptop will gently show up out of its shell, revealing the wires that connect the monitor and laptop. The two main cords are located here. The first is a video cable, and the second is an inverter power cable. You must unplug the laptop and the monitor's connecting wire. Leave the inverter cord alone.
Step 6: After removing the previous screen, insert the new display into the shell. By turning on the laptop, you can check that the screen is functioning correctly. Shut down the system once you've verified that the screen is running smoothly. Screw the LED into place and cover it with plastic or rubber caps.
If you are unable to resolve the issue, please contact IDSN computer technicians. We have professional and experienced experts who can fix all issues regarding laptop screen repair in Adelaide, regardless of the brand. We will repair any laptop screen problem at an extremely reasonable price. All you have to do to get our service is dial our service contact numbers. We not only offer remote support, but also door-to-door pick-up services throughout Adelaide. So, if you live in Adelaide and need a laptop screen repaired, give them a call for the best service possible.